Hello faithful readers and everyone else. I am proud to introduce a new feature here at thegeekymormon.com: Geek-Craft! Geek-Craft will appear here on a semi-regular basis and it will feature various geek related crafts, complete with pictures of the finished product and instructions on how you can do it at home. These great crafts will be brought to you by the amazingly talented Erica Dietz, who also happens to be the world’s greatest mom, and my beautiful wife. She also has her own blog, 5 Little Monsters which features her other crafts and projects. I believe the name is inspired by our 5 kids, who, although very lovable, are definitely monsters at times. Today’s craft is just in time for the release of the new Teenage Mutant Ninja Turtles movie and in time for the beginning of a new school year. It is a ninja turtle pencil bag. So, without further ado, I present Erica, the momma monster:
Ninja Turtle Pencil Bag
Finished size 9″x5″
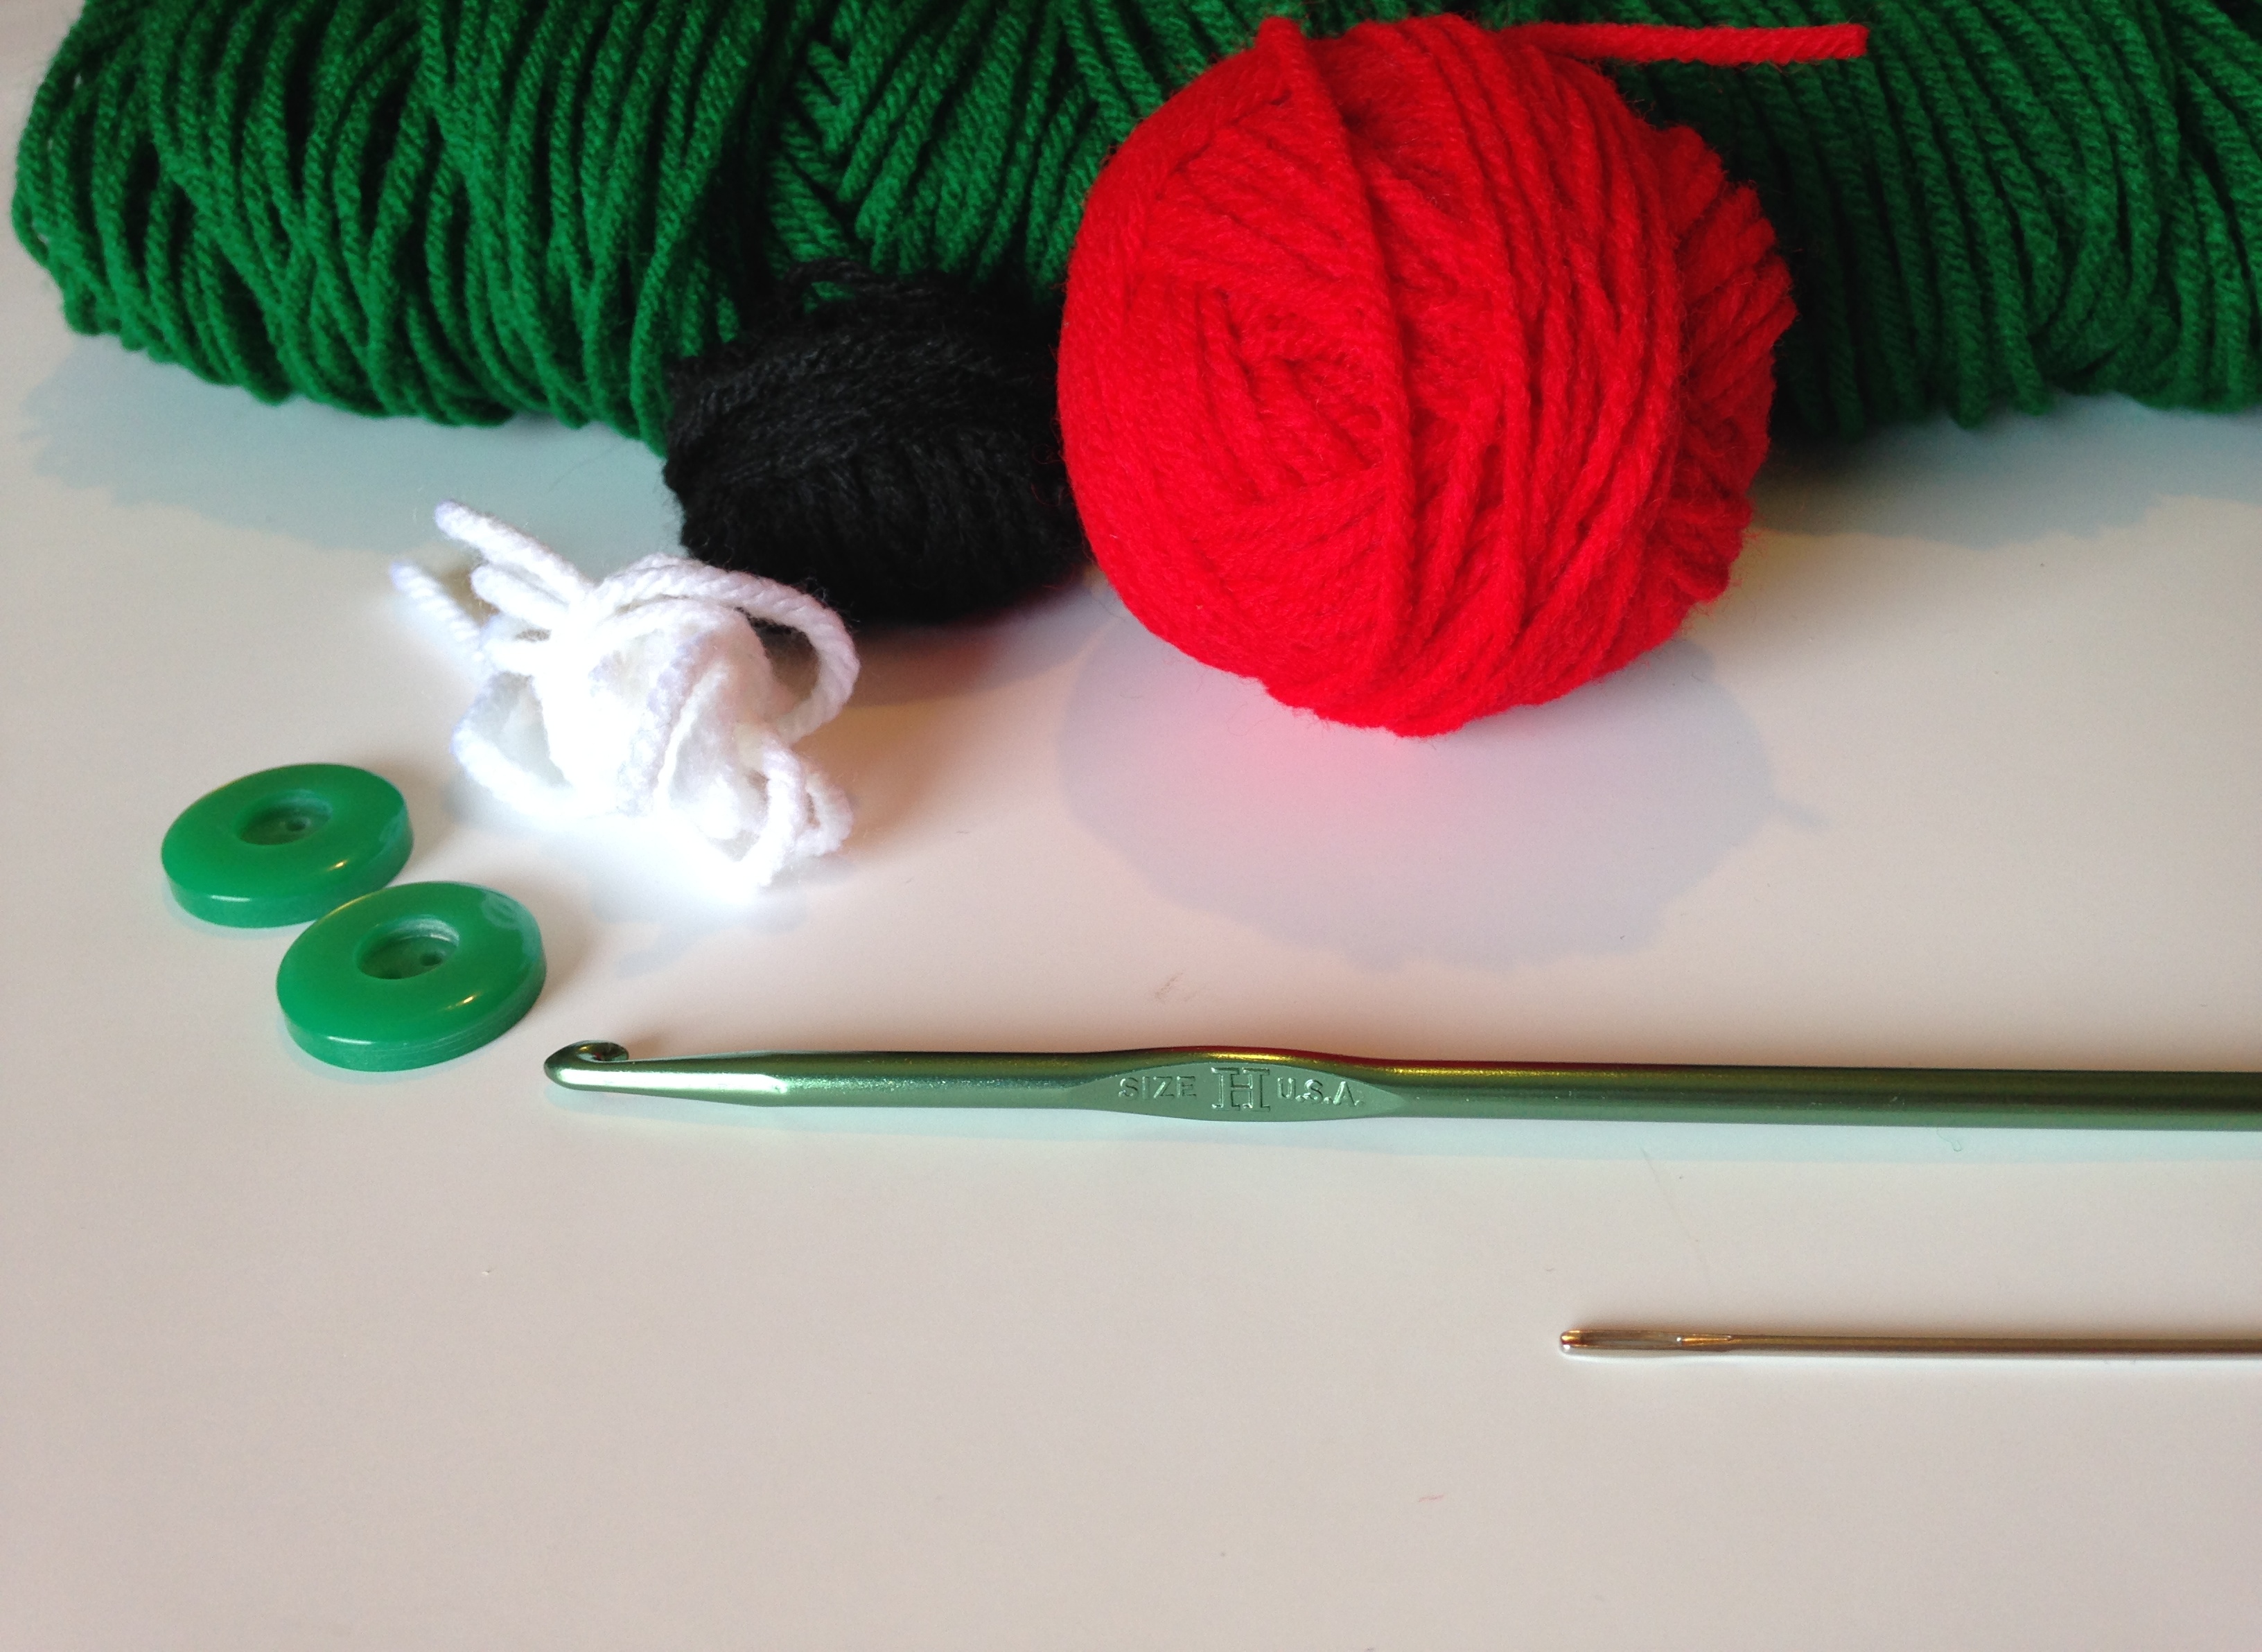
What you will need:
- worsted weight yarn; green, white, black, and mask color (red, orange, blue, or purple)
- H crochet hook
- 2 buttons (I used 7/8″)
- yarn needle

Starting with green yarn chain 31
- sc into 2nd chain and each chain to the end, ch 1, turn (30sc)
- sc in each sc (30 sc)
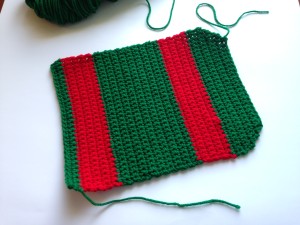
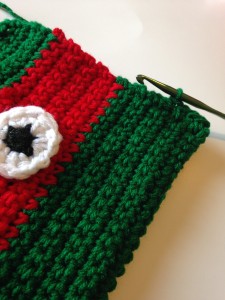
At the end of row 2 cut the green yarn, finish off and continue with the red (or mask color of your choice). You will continue to sc in each stitch across (30 sc in each row) following this pattern:
8 rows red
18 rows green
8 rows red
4 rows green
Do not cut yarn after the last row of green, ch 1, turn, and continue with the green to make the flap as follows
- sc2tog, sc 26, sc2tog
- sc2tog, sc 24, sc2tog
- sc2tog, sc 22, sc2tog
- sc2tog, sc 20, sc2tog
- sc2tog, sc 18, sc2tog, finish off
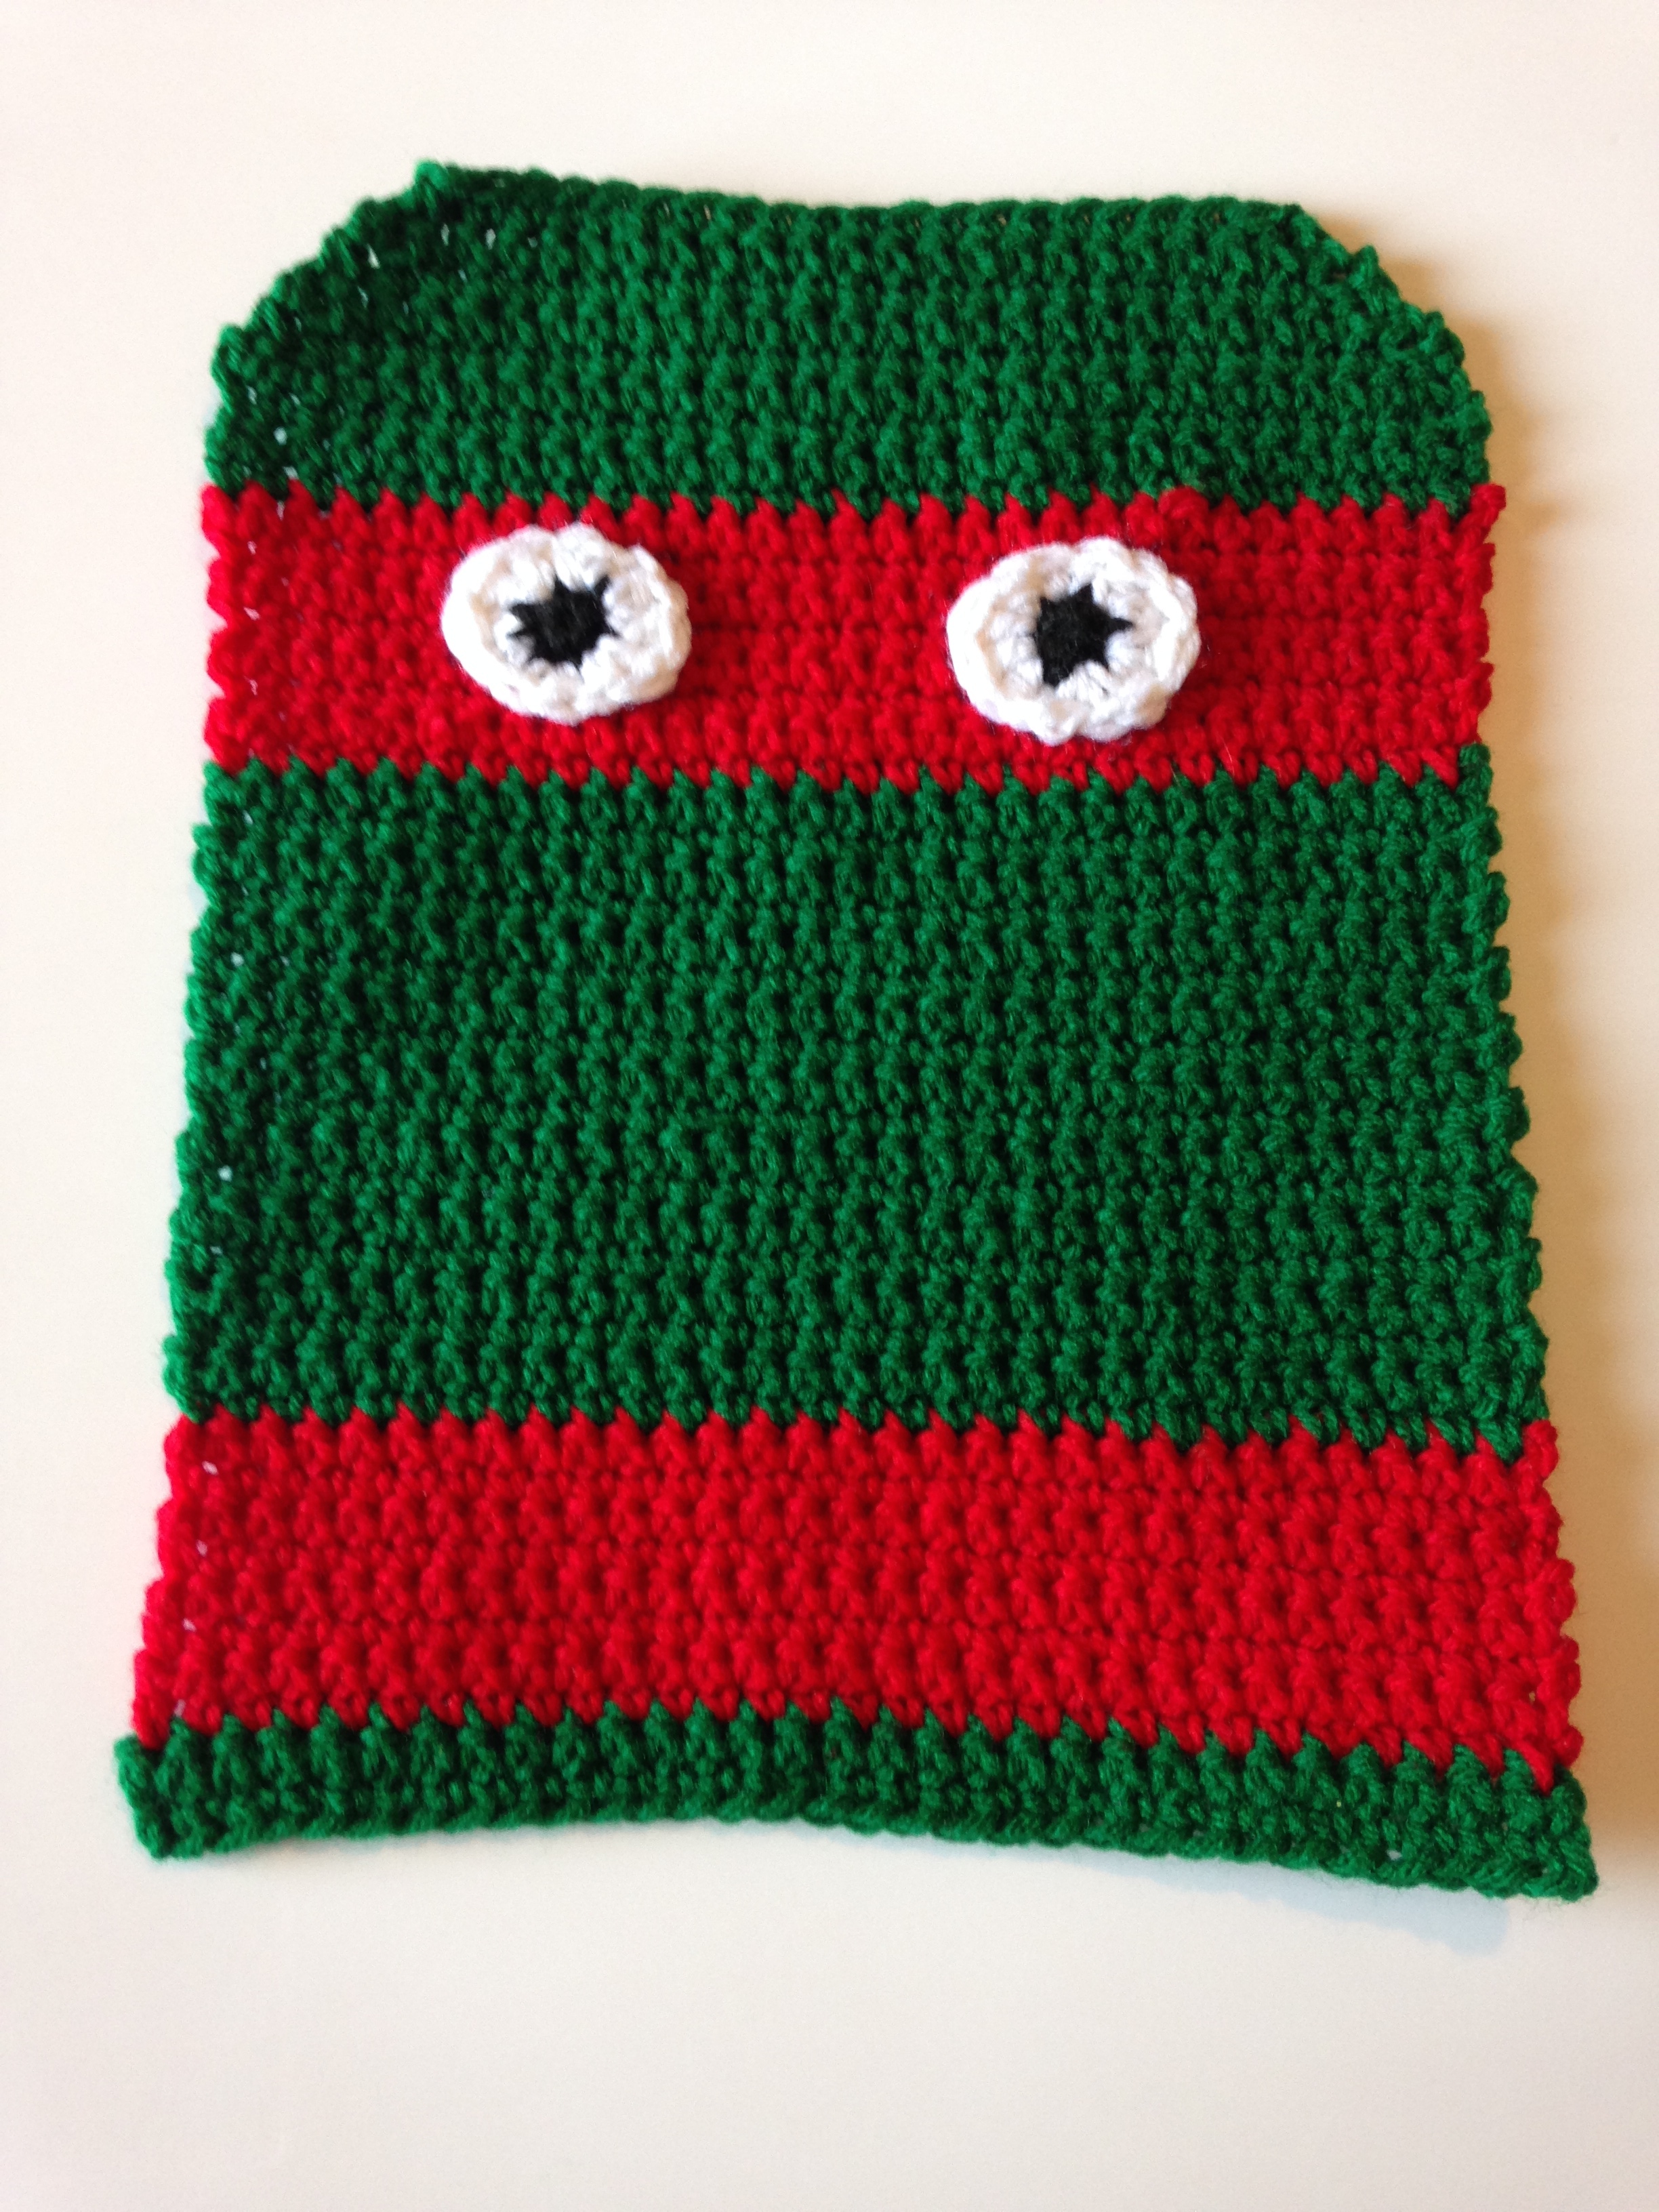
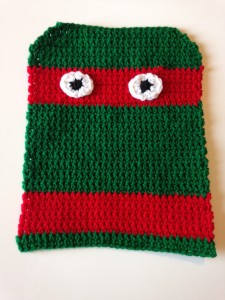
At this point you should have a shape that looks like this:
Now for the eyes, make 2 as follows:
with black yarn, in a magic ring sc 6, join, change to white yarn
2 sc in first stitch, 1 hdc 1 dc in next stitch, 1 dc 1 hdc in next, 2 sc in next, 1 hdc 1 dc in next, 1dc 1 hdc in next, join to first sc, finish off leaving long tail for sewing
Attach eyes to colored stripe closest to angled flap
Fold bottom half up so that stripes match and eyes are on the outside
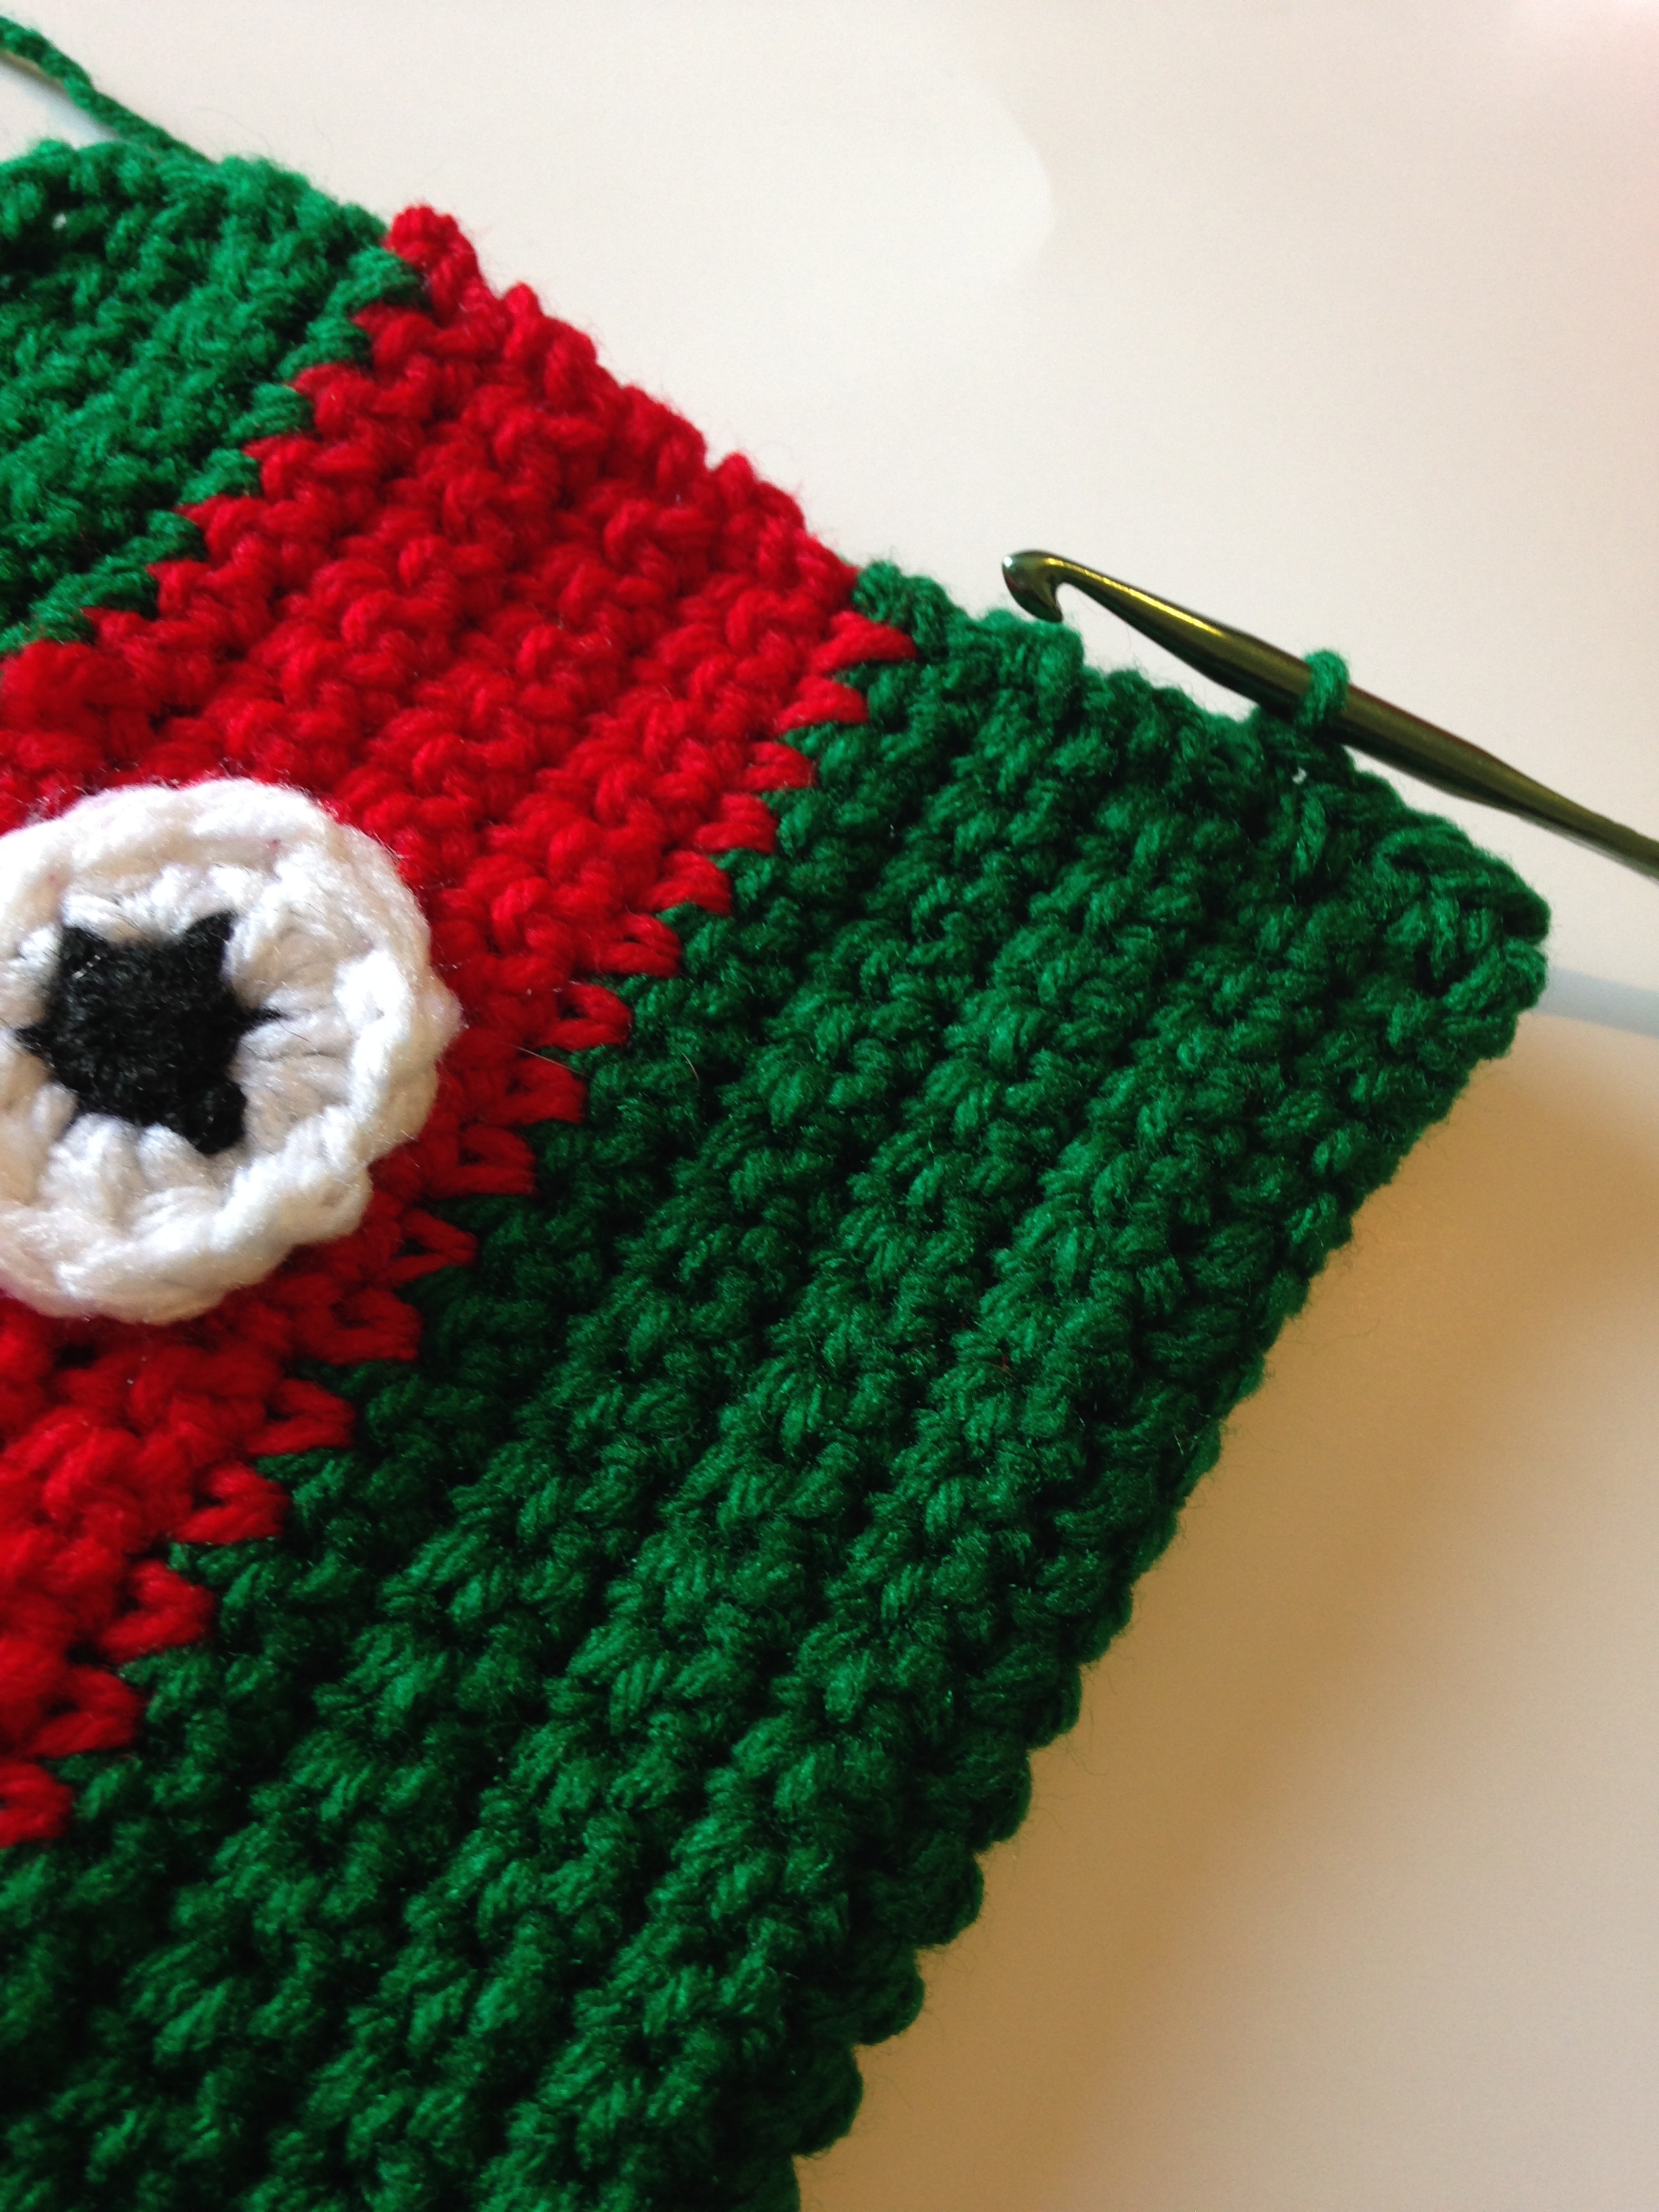
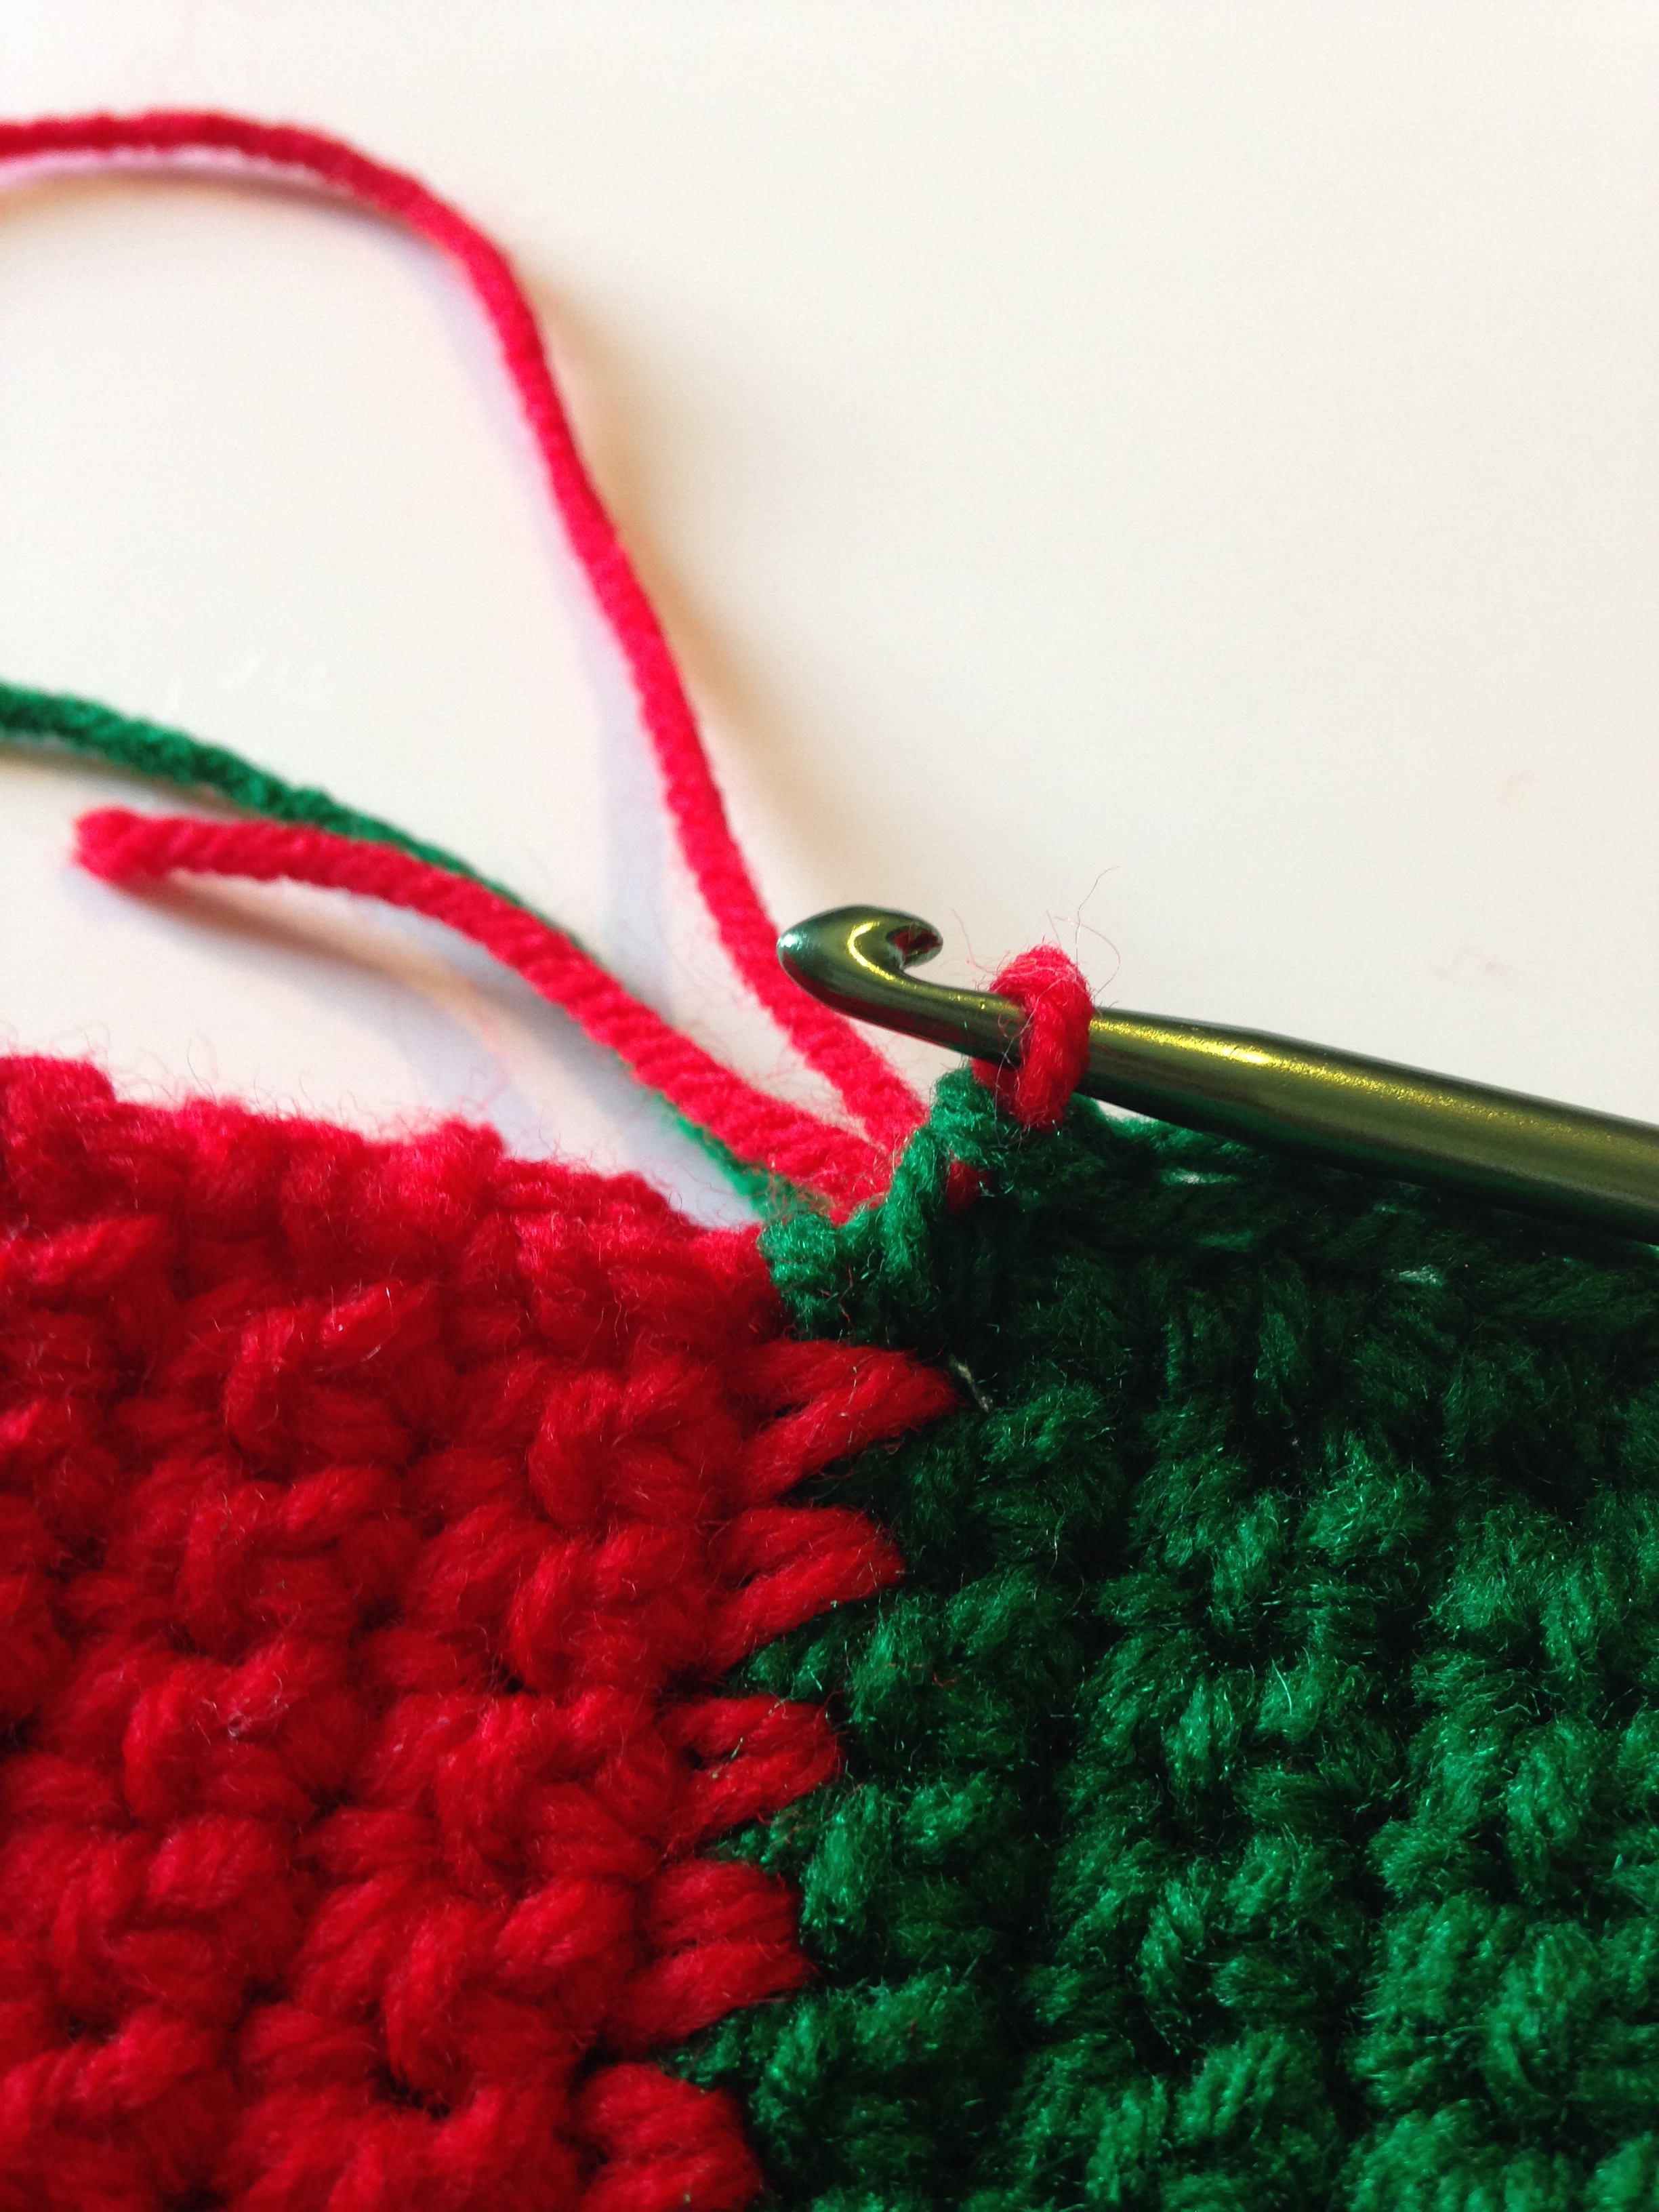
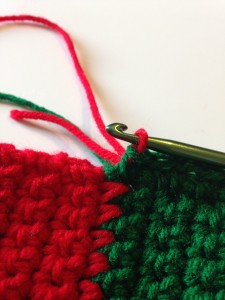
Starting with green yarn, side with the eyes facing up in the bottom right corner you will sc up the edge, through both layers to close up the side.
When you reach the red portion switch to red yarn but carry the green crocheting over it and switch back when you reach the green section again.
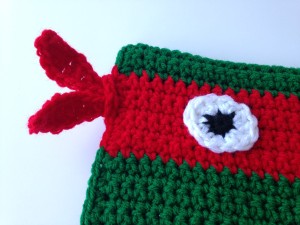
When you reach the flap, ch 1, then continue sc up the angled edge
At the corner, sc into first sc, ch 4, sk 1, sc in next 16, ch 4, sk 1, sc in last sc, continue to sc down angled edge and begin to join edges like on the other side.
When you get to the colored stripe on this side switch to your color, again carrying the green yarn down, sc 2 times in red portion, then *ch 10, starting in 2nd chain, sc in first, hdc in next, dc in next, tr in next 2, dc in next 2, hdc in next 2,* sc in the side of bag then repeat part between * sc in side of bag then ch 10, wrap around the 2 ties that you just made, continue sc down the side of bag to left corner. Finish off, weave in ends.
Now you just need to sew on the buttons and you are done. Fold the flap down to see where you need to place the buttons and sew them on.
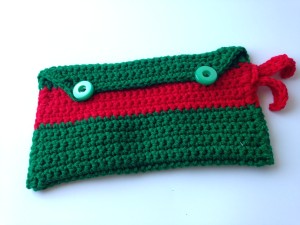
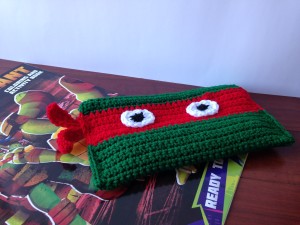
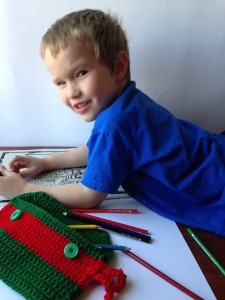
Thank you, Erica. There you have it folks, a ninja turtle pencil bag, perfect for your own hero in a half shell as they begin school. Here’s a great picture of one of our monsters and the pencil bag in action:
Great little project. I appreciate my wife taking the time to share this with everybody. Thanks for reading, and geeky crafting!
Like this:
Like Loading...